Removing Old Spray Foam from a Barn: A Practical Guide
Old polyurethane foam often fails in agricultural settings. It degrades under UV exposure or high humidity.
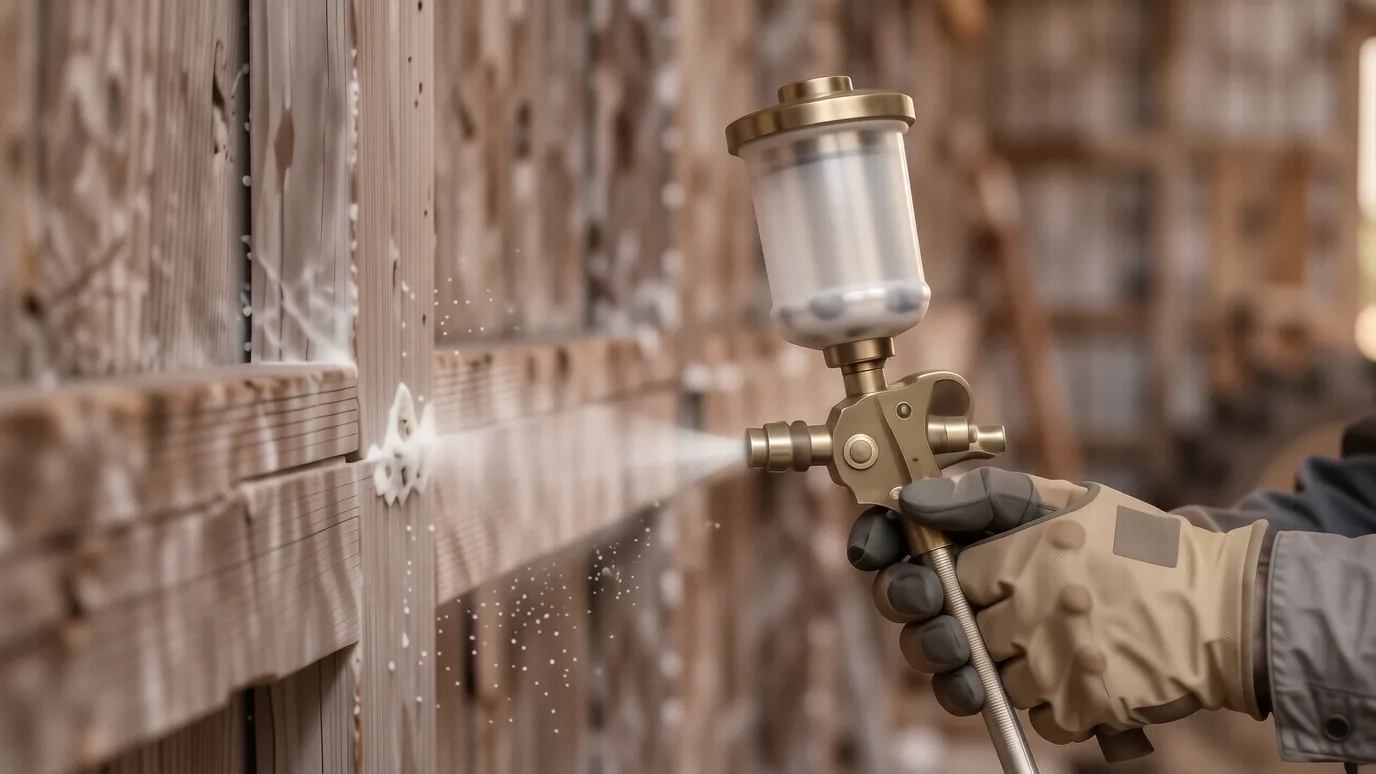
The Reality of Old Spray Foam
Old polyurethane foam often fails in agricultural settings. It degrades under UV exposure or high humidity. You might see crumbling yellow chunks hanging from your ceiling. This debris creates dust that harms bird respiratory health. Removing it is a dirty, physically demanding job.
Plan your labor carefully. If the foam is brittle, it will turn into fine powder during removal.
Assessing the Damage
Before you start, inspect the substrate. You need to know if the foam is peeling away from the metal or wood. If the bond remains strong, you face a much harder task. Brittle foam breaks easily. Solid foam requires mechanical force.
Check for moisture behind the cells. Water trapped between the foam and the building skin causes rot in timber frames. It also accelerates chemical breakdown in the insulation itself.
Decide if removal is necessary. Sometimes, patching small holes with AireBarrier Black saves more time than a full strip-out. If the foam has lost its density, it won’t hold heat.
Essential Tools and Materials
Do not attempt this without proper PPE. Dust inhalation is a serious risk in enclosed poultry or swine barns.
You will need these items:
- N95 or P100 respirators.
- Heavy-duty gloves.
- Safety goggles.
- Long-handled scrapers or specialized foam removal tools.
- Industrial vacuum with HEPA filtration.
- Pressure washer (if working on concrete or metal).
Scrapers are your primary weapon. Cheap plastic tools snap under pressure. Invest in steel blades for stubborn sections.
Step-by-Step Removal Process
1. Site Preparation and Containment
Seal the area first. Use heavy poly sheeting to block off ventilation ducts and feeding lines. You do not want foam dust inside your automated feeding systems.
Clear the floor. Move all equipment out of the work zone. This prevents contamination of expensive machinery.
2. Mechanical Stripping
Start at the highest point. Work downward to prevent falling debris from hitting completed sections. Use a scraper to catch the edge of the foam.
Apply steady pressure. If the foam is thick, you may need to use a reciprocating saw with a specialized blade. This method works best when the foam is still somewhat pliable.
3. Dealing with Residual Film
Mechanical scraping rarely leaves a perfectly clean surface. A thin, tacky film often remains on the substrate. This residue can prevent new sealants from adhering correctly.
Use a solvent or mechanical sanding if necessary. If you plan to re-insulate using Soy Bio Sealant, the surface must be clean and dry.
4. Dust Mitigation and Cleaning
Vacuum as you go. Do not wait until the end of the day to clean the floor. Waiting allows fine particles to settle into every crack in the barn floor.
Use a HEPA vacuum. Standard shop vacs often blow the finest, most dangerous dust right back out the exhaust.
DIY vs. Professional Contractors
Most small-scale farmers can handle minor removals. You might manage a single wall or a small shed by yourself. It is manageable with enough time.
Hire a professional for large poultry houses. Large barns require specialized equipment like the SprayPod 2.0 for the subsequent re-sealing phase. Professionals also bring industrial air scrubbers to manage airborne particulates.
Labor costs vary widely. A DIY approach saves cash but consumes dozens of man-hours. Contractors charge more, yet they finish much faster.
Common Gotchas and Mistakes
Never use high-heat torches to melt foam. This releases toxic gases into your workspace. It is extremely dangerous for both you and the building.
Watch out for hidden electrical lines. Old foam often covers wiring without any visible conduit. One slip of a scraper can cause a short circuit or a fire.
Avoid rushing the cleaning phase. If you leave residue, your new insulation will fail prematurely. A clean surface ensures long-term adhesion.
Estimating Time and Costs
Time depends on the square footage. A 5,000-square-foot barn might take a crew three days. A single person could spend two weeks on the same task.
Costs include tool rental and disposal fees. You cannot simply throw large amounts of foam in a standard trash bin. Check local regulations for industrial waste disposal.
Budget for the “next step.” Removing old foam is only half the battle. You must eventually address the air leaks you just exposed.
Rebuilding After Removal
Once the surface is bare, inspect the building envelope. Look for gaps in the metal siding or cracks in the wood. These are exactly what AireBarrier White was designed to fix.
Applying a new air barrier is more efficient than replacing thick insulation. An Auburn University study showed that sealing leaks can yield 25-40% energy savings in broiler barns. This makes sense because most heat loss occurs through air movement, not just conduction.
If you need to seal small cracks or seams, use a 24 oz can of sealant. One can provides roughly 3,000 linear feet of a 1/4″ bead. For larger projects, the 16 lb canister is more economical.
Check your eligibility for USDA REAP grants before buying new materials. These grants offer up to 50% cost-share for energy efficiency improvements. Application windows typically close on March 31, June 30, and September 30.
FAQ
Is old spray foam toxic if it crumbles?
Crumbling foam releases fine particulates that irritate the lungs. While the chemical stability depends on the specific brand used, inhaling any dust in a barn environment is hazardous. Always wear a P100 respirator during removal.
Can I just paint over old spray foam?
Painting rarely works for long-term fixes. The paint will likely peel as the foam continues to degrade underneath. It is better to scrape the foam away or use a specialized sealant to bridge gaps.
How do I know if my foam is failing?
Look for discoloration, crumbling, or visible gaps between the foam and the wall. If you notice significant temperature swings inside the barn despite having insulation, your barrier has likely failed.
What is the best way to seal a bare metal wall after removal?
After cleaning the metal surface, use an agricultural-grade sealant like AireBarrier. This ensures the building remains airtight and prevents pests from entering through small gaps.